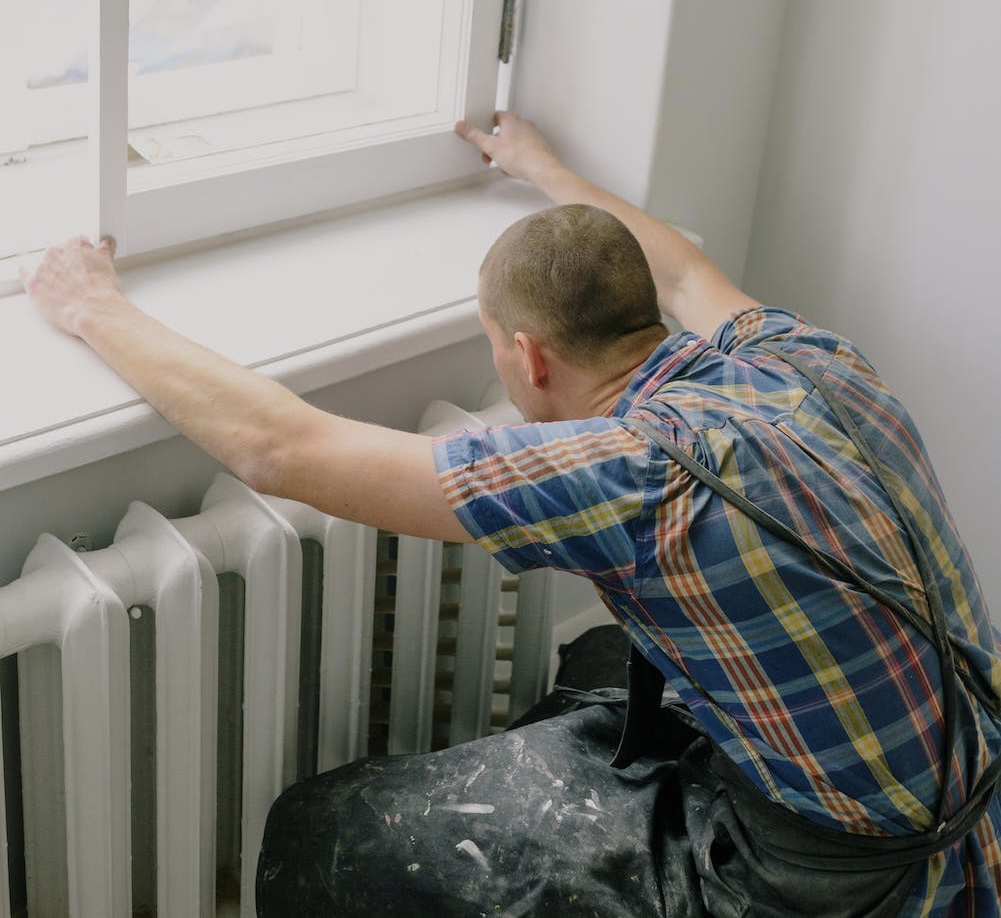
As homeowners, there are certain maintenance tasks that we have to do from time to time, and one of those tasks is removing a radiator. Whether you are renovating your home, replacing an old radiator, or simply need to do some maintenance, removing a radiator is a necessary task that you can do yourself.
In this step-by-step guide, we will take you through the process of removing a radiator in a clear and concise manner. With these instructions, you can complete this task with ease and confidence.
Step 1: Turn off the heating system
Before you begin removing the radiator, you must turn off the heating system. This will prevent any hot water from flowing into the radiator. Locate the valve that controls the flow of water into the radiator and turn it off. If you are not sure which valve controls the flow of water, consult the manual for your heating system.
Step 2: Drain the radiator
Once you have turned off the heating system, you will need to drain the radiator. Locate the drain valve at the bottom of the radiator. Place a bucket or container underneath the valve to catch the water. Turn the valve counterclockwise to open it and allow the water to drain into the container. Be sure to wear gloves and protective clothing as the water can be hot.
Step 3: Remove the radiator valves
After the radiator has been drained, it is time to remove the valves. There are two valves that connect the radiator to the heating system. One valve controls the flow of water into the radiator, and the other valve controls the flow of water out of the radiator. Use a wrench to loosen and remove the nuts that connect the valves to the radiator.
Step 4: Remove the radiator
With the valves removed, you can now remove the radiator itself. Be sure to have a helper to assist you with this step, as radiators can be heavy and awkward to handle. Lift the radiator off the brackets that hold it in place and carefully carry it away from the wall. Be sure to place the radiator in a safe location where it will not be damaged.
Step 5: Cap the pipes
After the radiator has been removed, you will need to cap the pipes that were connected to it. This will prevent any water from leaking out of the heating system. Use caps or plugs that are specifically designed for this purpose. Simply slide the caps over the pipes and tighten them with a wrench.
Step 6: Refill the heating system
With the radiator removed and the pipes capped, it is time to refill the heating system. Open the valve that controls the flow of water into the heating system and allow the water to flow back in. Be sure to check the pressure gauge on your heating system to make sure that the pressure is at the correct level.
Step 7: Bleed the radiators
After you have refilled the heating system, you will need to bleed the radiators. This will remove any air that has accumulated in the system. Begin by opening the valve on the first radiator in your home. You should hear a hissing sound as the air escapes. Once water begins to flow from the valve, close it and move on to the next radiator. Repeat this process until all of the radiators in your home have been bled.
Step 8: Test the heating system
With the radiators bled, it is time to test the heating system. Turn the heating system back on and allow it to run for a few minutes. Check each radiator to make sure that it is heating up properly. If you notice any issues, such as cold spots or leaks, turn off the heating system and consult a professional.
In conclusion, removing a radiator is a task that you can do yourself with a little bit of knowledge and some basic tools. By following these step-by-step instructions, you can remove a radiator from your home safely and efficiently. Remember to always turn off the heating system and wear protective clothing when working with hot water. With a little bit of effort, you can complete this task and enjoy a warmer, more comfortable home.